Leave Your Message

Why Choose a Rear View Camera Kit for Your Vehicle?

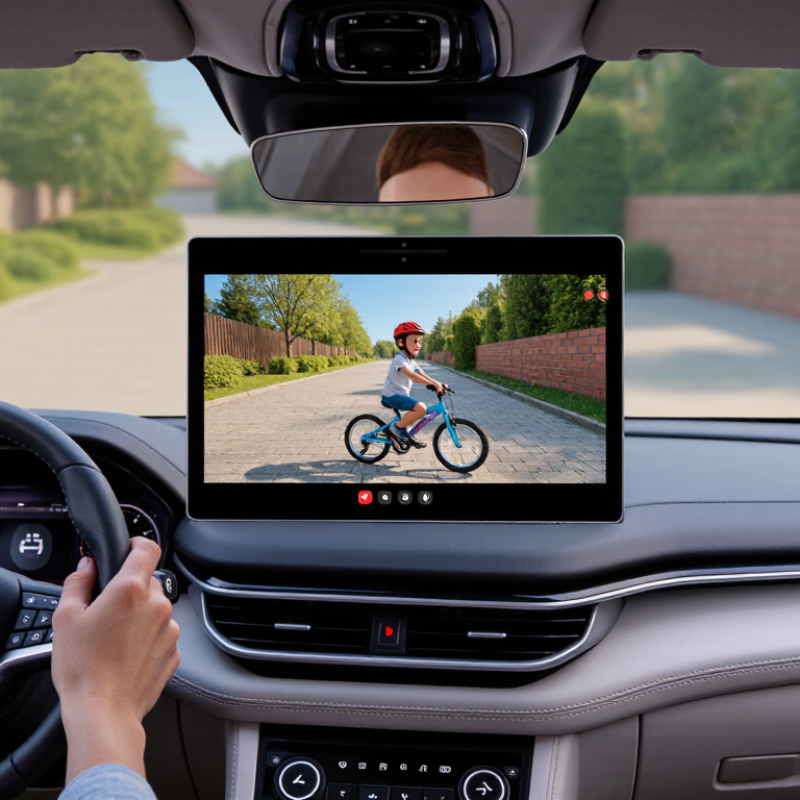
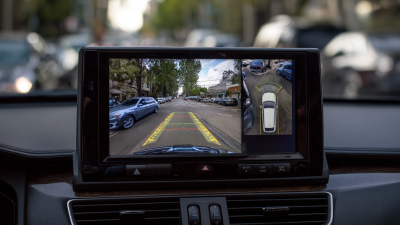
A driveway can hide a child, a bicycle, or a low garden wall just below the rear window. A Rear View Camera Kit can make that space visible on a dashboard display, helping drivers judge obstacles before reversing. It is a practical upgrade for older vehicles, especially when rear visibility is limited. Small details matter.

The safety case is supported by federal data. In its 2014 rear-visibility rulemaking, the National Highway Traffic Safety Administration (NHTSA) estimated that backover crashes caused 210 deaths and 15,000 injuries annually. NHTSA’s rule required rear visibility technology in new light vehicles, with compliance required by May 2018. U.S. Transportation Secretary Anthony Foxx described the rule’s purpose: “This rule will save lives, and it will save many families from the heartbreak of losing a loved one.” These figures explain why drivers consider camera systems, but they do not guarantee that every kit performs equally well.

A useful kit should provide a clear image, a reliable display, and a camera suited to the vehicle’s mounting position. Check screen visibility in daylight, image clarity after dark, and whether installation leaves cables secure and out of the way. A camera can reveal objects that mirrors miss. But it is not magic. Rain, glare, poor positioning, or a dirty lens can reduce visibility. Drivers should still check mirrors and surroundings, then reverse slowly. That extra glance may feel repetitive. It is still worthwhile. A Rear View Camera Kit adds a helpful view, not a replacement for attentive driving.

Why Choose a Rear View Camera Kit for Your Vehicle?

Understanding What a Rear View Camera Kit Is

A rear view camera kit is a set of components that helps show the area behind a vehicle on a screen. A typical kit includes a small camera, a display or screen connection, wiring, and mounting hardware. Some systems connect to an existing dashboard display; others come with a separate monitor. The camera often sits near the rear license plate, where it can capture a low, wide view.

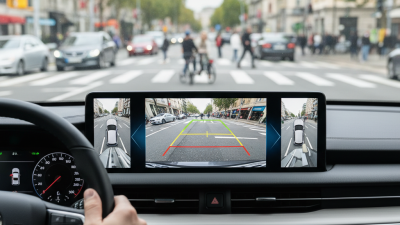
When the vehicle shifts into reverse, the display usually shows the camera image. On some models, guide lines help estimate distance, though they may not match the vehicle’s exact path. Installation varies. A wired camera needs a route from the rear of the vehicle to the display, while a wireless system still needs power at the camera and screen. Check the kit’s compatibility, image format, and weather resistance before choosing it. Small details matter.

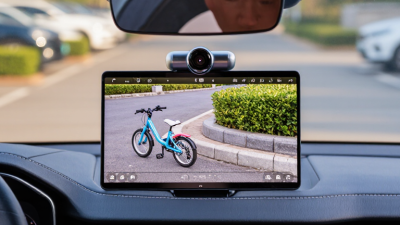
A camera can reveal a child’s bicycle or a low wall that mirrors may miss. Yet it cannot show every angle, and rain, dirt, or glare can blur the picture. Keep the lens clean, and use mirrors and direct checks as well. I’ve found that guide lines can feel reassuring, perhaps too reassuring; they are estimates, not measurements. A camera is helpful. It is not a substitute for attention.

Why Choose a Rear View Camera Kit for Your Vehicle? — Understanding What a Rear View Camera Kit Is
Dimension What It Means Typical Options or Details Why It Matters
Basic definition A rear view camera kit is a collection of components that displays a view behind a vehicle while reversing. Commonly includes a camera, a display or display connection, wiring, and mounting hardware. It can help the driver see areas behind the vehicle that may be difficult to view directly.
Camera placement The camera is mounted at the rear of the vehicle, usually near the license plate or rear handle. Mounting position depends on vehicle design and the kit’s bracket or housing. A suitable position can provide a useful view while avoiding obstruction of the camera lens.
Display type The image may appear on a dedicated screen or on a compatible in-dash display. Some kits use a monitor mounted on the dashboard; others connect to a display with a compatible video input. Checking display compatibility before purchase can help avoid installation problems.
Wired or wireless connection The connection carries the camera’s video signal to the display. Wired kits use a video cable; wireless kits transmit the signal without a long video cable. Wired systems require cable routing, while wireless systems may be easier to route but can be affected by signal conditions.
Power source The camera and display need electrical power to operate. Many systems connect to vehicle power and activate when reverse gear is selected; some displays use a separate power connection. Vehicle wiring and compatibility should be checked against the installation instructions.
Image and viewing angle Image clarity and the area visible on screen depend on the camera and its installation. Specifications may describe resolution, low-light performance, and horizontal viewing angle. A wider view can show more of the area behind the vehicle, though objects may appear smaller or distorted near the edges.
Parking guidelines Some displays overlay guide lines on the camera image. Guidelines may be fixed or adjustable, and some systems offer distance markers. Guidelines can help with positioning but are not a substitute for checking surroundings directly.
Weather protection The rear-mounted camera is exposed to outdoor conditions. Look for manufacturer-stated water and dust protection ratings and care instructions. Appropriate protection can help the camera withstand rain, road spray, and routine outdoor use.
Vehicle compatibility Fit depends on the vehicle’s mounting area, electrical system, and available display connections. Check vehicle type, mounting dimensions, wiring requirements, and display inputs before choosing a kit. Compatibility checks reduce the risk of a poor fit or a system that cannot connect to the vehicle’s display.
Main practical benefit A camera provides an additional rearward view during reversing and parking. It works alongside mirrors, direct observation, and any other driver-assistance systems. It can support awareness, but drivers should still check for pedestrians, obstacles, and cross traffic.

How a Rear View Camera Kit Works

Why Choose a Rear View Camera Kit for Your Vehicle?

How a Rear View Camera Kit Works

A rear view camera kit sends a live image from a small camera near the vehicle’s rear to a display inside the cabin. When reverse gear is selected, the screen typically switches to the camera view. The image helps reveal low obstacles, nearby vehicles, and people who may sit below the rear window’s sightline. Distance guide lines can offer a useful reference, though their accuracy depends on camera placement and vehicle dimensions. They are not a measurement tool.

Installation details matter. The camera needs a stable mount, a clear view, and a reliable power connection. A loose connector may cause a flickering image; dirt, rain, or glare can also reduce visibility. Some kits use a wired connection, while others transmit the image wirelessly. Wireless setups may be simpler to route, but signal quality can vary. Check the display in daylight and after dark, and clean the lens when needed.

Tips: Before relying on the screen, test the view in a safe, stationary setting. Notice where the guide lines meet the ground, then compare them with a visible object. Keep using mirrors and look around the vehicle. A camera can miss approaching traffic or anything outside its viewing angle. Small screens take getting used to, too. It’s easy to trust them too much.

Key Benefits for Drivers and Vehicle Safety

Why Choose a Rear View Camera Kit for Your Vehicle?

A rear view camera kit can make reversing feel less uncertain, especially in a crowded driveway or a tight parking space. The screen shows areas that mirrors may not reveal, such as a low wall or a child’s bicycle near the bumper. That extra view can help drivers judge distance and spot obstacles sooner. It is useful support, not a substitute for checking mirrors and looking around.

For daily driving, a clear camera image can reduce the guesswork of backing up. Some kits include parking guidelines, but those lines are only estimates; vehicle size, camera angle, and ground slope can affect them. Rain, road grime, and darkness may also reduce visibility. A camera cannot show everything, and drivers still need to move slowly and stay alert. I find that reminder matters: technology can feel reassuring, sometimes too reassuring.

Tips: Keep the lens clean, check the screen before moving, and reverse at walking speed when space is tight. If the image looks blurry or shifted, inspect the camera angle and connections before relying on it.

Choosing a Kit That Fits Your Vehicle

A rear view camera kit should fit the vehicle’s shape and electrical system, not just its price. Check the vehicle’s year, body style, and existing display before buying. A pickup with a tailgate may need a different camera position from a hatchback. Measure the plate area and inspect the route for wiring; a cable pinched by trim can fail later. Small details matter.

The U.S. National Highway Traffic Safety Administration estimated that rear-visibility requirements could prevent 58 to 69 deaths each year. Its 2014 final rule established rear-view requirements for new vehicles, including a defined viewing area behind the vehicle. That figure is not a guarantee that an aftermarket kit will prevent a crash. Fit and installation still matter.

Look for a camera view that covers the area immediately behind the bumper, and check the image in daylight and low light. Verify that the monitor works with the vehicle’s power supply and mounting space. If the vehicle already has a display, confirm compatibility rather than assuming it will accept any camera signal. Test the system with a helper standing safely behind the vehicle. Then check for a clear image, steady connections, and useful guidelines. I would not trust guidelines without testing them; they can be slightly misleading.

Choosing a Kit That Fits Your Vehicle: Check the camera’s mounting method and dimensions against your vehicle’s plate area. Common plate formats differ: North American plates are typically 12 × 6 inches, while European plates are commonly 520 × 110 mm. Sizes vary by jurisdiction, so measure your own plate and mounting space before choosing a kit.

Installation, Maintenance, and Legal Considerations

A rear view camera kit can make reversing easier, but careful installation matters. Park on level ground and disconnect the vehicle battery before handling wiring. Choose a camera position that shows the area behind the bumper without being blocked by the plate or trim. Route cables away from hot engine parts, sharp edges, and moving hinges. Secure loose wiring with suitable clips. After installation, test the image in daylight and darkness, then check the view while an assistant walks behind the vehicle. The screen can still hide low objects or narrow obstacles.

Keep the lens clean with a soft cloth; road salt, dust, and water spots can blur the picture. Inspect the wiring and connectors occasionally, especially after body repairs or harsh weather. If the image flickers, shows persistent lines, or fails in wet conditions, check connections before assuming the camera is faulty. I have found that a camera’s usefulness depends as much on its angle and upkeep as on the device itself. That detail is easy to overlook.

Tips: Adjust the camera while the vehicle is parked, and use a second person to confirm the displayed distance. Treat guide lines as estimates, not measurements. Before fitting a kit, check local rules on camera placement, number-plate visibility, and driver displays; requirements differ by location. If wiring or vehicle safety systems are unfamiliar, consult a qualified installer. A neat job is not always a safe one.