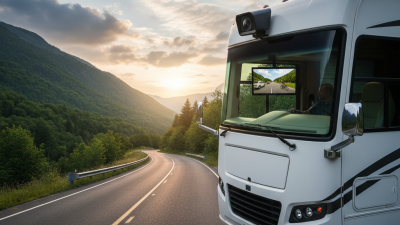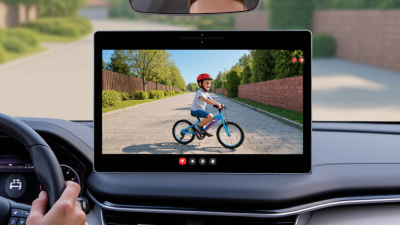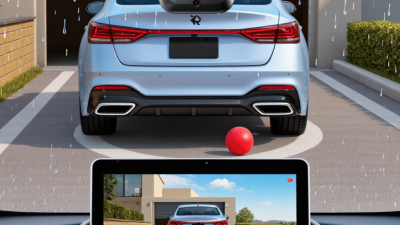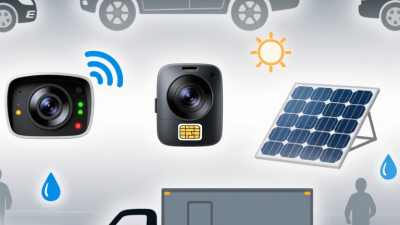
Choosing the best RV Rearview Camera System in 2026 is less about buying the screen with the most features and more about seeing clearly when space is tight. A narrow campsite, a wet highway, or a trailer hidden in a blind spot can quickly expose a weak setup. Small details matter. A sharp image is useful, but so are dependable signal transmission, a monitor that stays readable in sunlight, and a camera suited to the vehicle’s length.
RV educator Mark Polk’s safety guidance can be fairly paraphrased this way: “A camera helps you see; it does not replace careful driving.” This is a paraphrase, not a verified verbatim quotation. The distinction matters. A camera can help reveal obstacles behind the vehicle, but it cannot judge every distance or replace mirrors and a spotter when conditions call for one.
This guide will compare wired and wireless systems, image quality, night visibility, weather resistance, installation, and practical costs. It will also consider how the system performs during everyday use, not just in a product description. I would not trust a glossy feature list alone. A wireless model may be easier to install, yet signal interruptions can matter on a long rig. A wired unit may offer a steadier connection, but installation can take more effort. There is no perfect choice for every RV. The right system should fit your vehicle, budget, and driving routine—and make reversing feel more controlled, not falsely effortless.
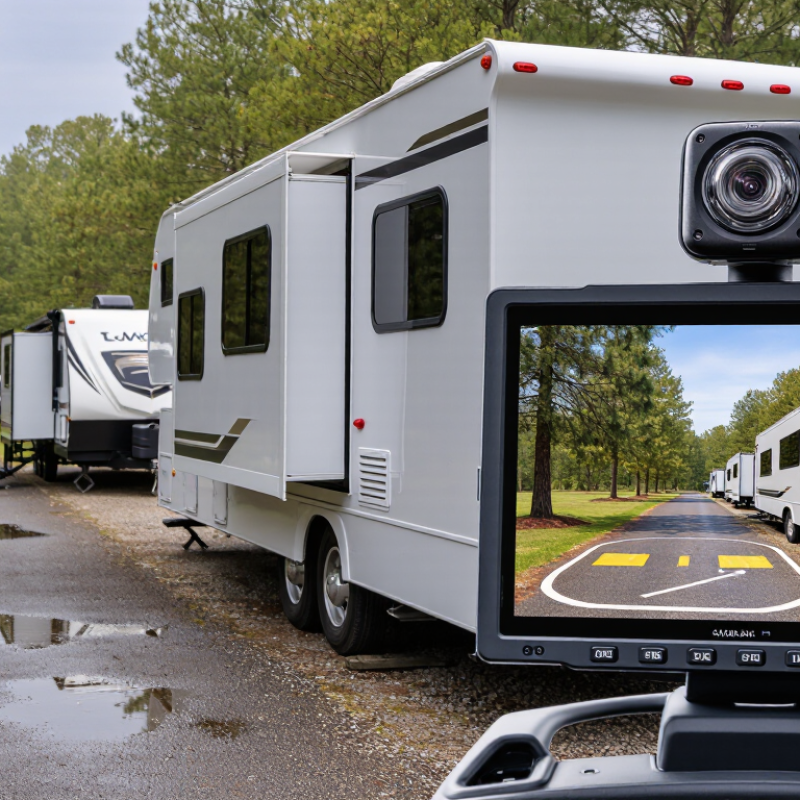
Choosing the best RV rearview camera system starts with your vehicle’s shape. A compact camper van may need one rear camera to show the bumper and nearby traffic. A long travel trailer can hide vehicles in wide side blind spots. If you tow, check whether the camera can mount on the trailer and connect to a display in the cab. Measure the distance before choosing a wired setup; cable routing can take more work than expected.
Think about where and how you drive. Tight campground turns call for a clear view close behind the RV, while highway travel benefits from a wider rear view. Night visibility matters when backing into a dim campsite. Check the camera’s viewing angle, display size, and stated low-light performance. Wider is not always better: objects may look farther away, and the corners can still be obscured. It is easy to focus on screen sharpness and overlook mounting height. Small details matter.
Tips: Sketch your RV and mark likely blind spots. Compare the camera’s actual view with those areas, not just its listed angle. Ask whether the system supports extra cameras if you may add a side view later. Test the display from your normal driving position, too. A camera helps, but it cannot show every obstacle. A spotter can still be useful.
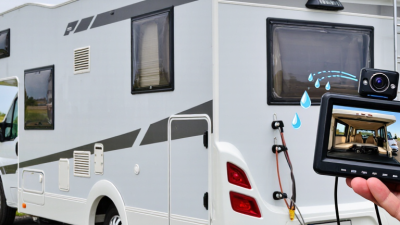
Wired, wireless, and multi-camera systems solve different problems. A wired camera sends video through a physical cable, which can provide a steady signal but may require careful routing through a long motorhome. Wireless models are simpler to install, though nearby electronics or vehicle structures can sometimes interrupt the picture. Multi-camera systems show more angles, such as the rear bumper and blind areas beside the coach. They add coverage, but extra screens can distract if the layout is cluttered.
Use standards as a baseline, not a guarantee. NHTSA’s rear-visibility rule applies to covered vehicles with a gross vehicle weight rating of 10,000 pounds or less; many larger RVs fall outside that scope. The RV Industry Association reported 333,733 U.S. RV shipments in 2024, reflecting a large and varied vehicle market. That figure does not compare camera performance. Match the system to your RV’s length, towing setup, and usual parking spots. A bright display is useful, but glare on a sunny dashboard can still make details hard to see.
Tips: Test the feed before a trip. Check it in daylight, at dusk, and with the engine running. Look for lag, blind spots, and a usable view of the hitch. Then have someone walk behind the parked RV; the image may look clear while hiding a low object. No system replaces a careful visual check.
| Comparison Factor | Wired System | Wireless System | Multi-Camera System |
|---|---|---|---|
| How It Works | Video travels from the camera to the monitor through a physical cable. | Video is transmitted from the camera to the monitor by radio; the camera and monitor still need power. | Uses two or more cameras to show different views, such as the rear, sides, or hitch area. It can use wired connections, wireless connections, or a combination. |
| Installation | Usually requires routing a cable through or along the RV. Installation can take longer, especially on a finished or large vehicle. | Usually avoids a long video cable, but mounting the camera, supplying power, and pairing the equipment are still required. | More involved than a single-camera setup because extra cameras, power connections, and monitor inputs or switching must be planned. |
| Signal Reliability | A correctly installed cable provides a direct video connection and is not affected by radio interference. | Performance depends on the system’s radio link, antenna placement, vehicle construction, and nearby interference. Range claims should be checked for the actual installation conditions. | Depends on the connection method and the number of cameras. A multi-camera design does not automatically mean a stronger or weaker signal. |
| Typical Strength | A practical choice when a stable, continuously available video connection is the priority. | Can simplify installation when routing a long video cable is difficult. | Provides more viewing angles and can reduce blind spots when cameras are positioned and configured appropriately. |
| Potential Drawbacks | Cable routing takes labor, and an exposed or poorly secured cable can be damaged or create installation issues. | Wireless transmission does not eliminate the need for power wiring. Signal interruptions or interference may occur in some installations. | Typically costs more and requires more setup. Multiple views may need manual selection or a compatible split-screen monitor. |
| Best Suited For | Owners who prioritize a direct connection and are comfortable with the additional cable installation. | Owners who want to avoid routing a long video cable and have a suitable camera power source and radio path. | Large RVs, trailers, or drivers who need rear, side, or hitch views for maneuvering and monitoring. |
| What to Check Before Buying | Confirm cable length, connector compatibility, weather protection, and whether the planned route avoids moving or hot components. | Check the stated operating range, antenna design, power requirements, interference guidance, and compatibility with the monitor. | Check the number of supported cameras, available inputs, display layout, camera switching method, and whether each camera is included. |
| Overall Selection Tip | Choose when installation access is manageable and a direct video link is important. | Choose when simpler video-cable routing is valuable and the system can be tested reliably on the RV. | Choose when additional viewing angles matter more than keeping the system simple; decide separately whether each camera connection should be wired or wireless. |
Note: “Multi-camera” describes the number of camera views, not a separate transmission method. A multi-camera system may be wired, wireless, or hybrid. Actual image quality, range, and performance vary by equipment and installation.
Image quality is more than a resolution number. Check whether the camera shows clear edges, readable signs, and useful detail across the full image. A wide view helps reveal nearby obstacles, but heavy distortion can make distances harder to judge. If possible, compare footage on a screen similar to the one you will use in your RV. Small screens can hide flaws.
Night vision deserves a real-world check. Look for a steady picture in a dim campsite, not just a bright showroom. Headlights and reflective signs can create glare, so notice whether nearby details remain visible. The display matters, too: choose a size you can glance at without losing sight of the road. Buttons should be easy to reach, and image delay should be minimal. One compromise is easy to miss: a sharper picture may still feel cramped on a small display.
Tips: Test the camera at dusk and after dark, with the RV parked safely. Check the view from the driver’s seat, including screen glare and mounting angle. Bring a familiar object, such as a cone, to judge distance. Specs help, but they do not tell the whole story.
Compatibility is more than matching a camera to a screen. Check your RV’s electrical voltage, available camera inputs, connector type, and monitor mounting space before buying. If the vehicle has a factory display, confirm that it accepts an added camera signal. Wireless systems also need a clear path between camera and monitor; metal walls and long vehicle bodies can weaken reception. Measure twice.
Installation can take longer than expected. A wired camera may require routing cable through the roof or body, so inspect existing access points and seals first. Keep wiring clear of airbags, moving parts, and hot surfaces, and follow the vehicle and system manuals. If the route involves drilling or unfamiliar electrical work, ask a qualified installer. A tidy-looking cable path is not always a safe one.
Weather resistance deserves close attention. Look for a clearly stated water- and dust-resistance rating, plus operating-temperature details suited to your usual travel conditions. Road spray, dust, vibration, and direct sun can all wear down exposed parts. Check that the camera housing and cable entry are sealed, and inspect them after installation. Even a strong rating cannot prevent every leak if a gasket is pinched. That detail is easy to miss.
How to Choose the Best RV Rearview Camera System in 2026?
Compare Safety Features, Warranty, and Total Ownership Cost
A useful comparison starts with the view, not the screen size. Check the camera’s field of view, night image, weather resistance, and whether it covers the hitch area. The NHTSA’s 2014 rear-visibility rule estimated that compliant systems could prevent 58–69 deaths and about 11,000 injuries annually. That estimate concerns the rule’s vehicle fleet, not any single RV camera. A camera helps, but it cannot replace mirrors or a spotter.
Compare the full ownership cost: camera and monitor, installation, wiring, and possible replacement parts. A cheap system can become costly if its connectors corrode or its signal drops near your campsite. Read the warranty closely. Does it cover labor, water damage, and the monitor, or only selected parts? Check the claim process and whether the system fits your RV’s existing wiring. I would not treat a long warranty as proof of reliability; the exclusions matter.
Tips: Ask for a written installed price. Test the image in daylight and at dusk, and check the view while turning. Keep the warranty terms. Then compare the likely repair cost against the upfront savings.
Compare camera coverage, warranty terms, and estimated five-year ownership cost. The chart uses transparent planning estimates—not surveyed market prices—and excludes financing and taxes.
Model assumptions: Single-view wired: 1 camera view; multi-view wireless: 2 views; multi-camera wired: 4 views. Estimated five-year costs include assumed hardware, installation, and a service or replacement reserve.
Before buying: Confirm the actual warranty length, what parts and labor it covers, and whether shipping is included. Camera count alone does not guarantee safer visibility; check coverage, night performance, display visibility, and compatibility with your RV.