Leave Your Message
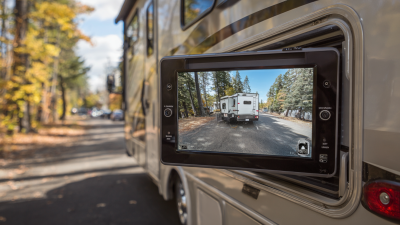
When an RV rolls backward, its size can hide a child, a low post, or another vehicle from the driver’s seat. A properly positioned Rv Rear View Camera can reveal that narrow blind zone and make reversing more controlled. It cannot replace mirrors, a spotter, or a careful walk-around. Still, it helps.
The safety case is supported by federal research. In its 2014 rear-visibility rule, the U.S. National Highway Traffic Safety Administration estimated that compliant rearview systems could prevent 58 to 69 deaths each year. The rule covered specified vehicles with a gross vehicle weight rating of 10,000 pounds or less. Many motorhomes exceed that limit, so the estimate should not be treated as an RV-specific outcome. It does show why clear rear visibility deserves attention.
Installing a camera is also a practical wiring and placement task. The camera must show the area directly behind the RV, remain stable on a vibrating body, and withstand rain and road spray. The monitor should be visible without pulling your eyes far from the road. A loose ground wire or poorly sealed cable entry can cause frustrating failures later. Installation guides can make the job look easier than it is; roof height, body construction, and existing wiring can change the work considerably. This guide covers equipment choices, safe mounting, cable routing, power connections, testing, and common mistakes. The goal is a dependable view, not a false sense of security.
How to Install an RV Rear View Camera?
Understand RV Rear View Camera Systems and Installation Requirements
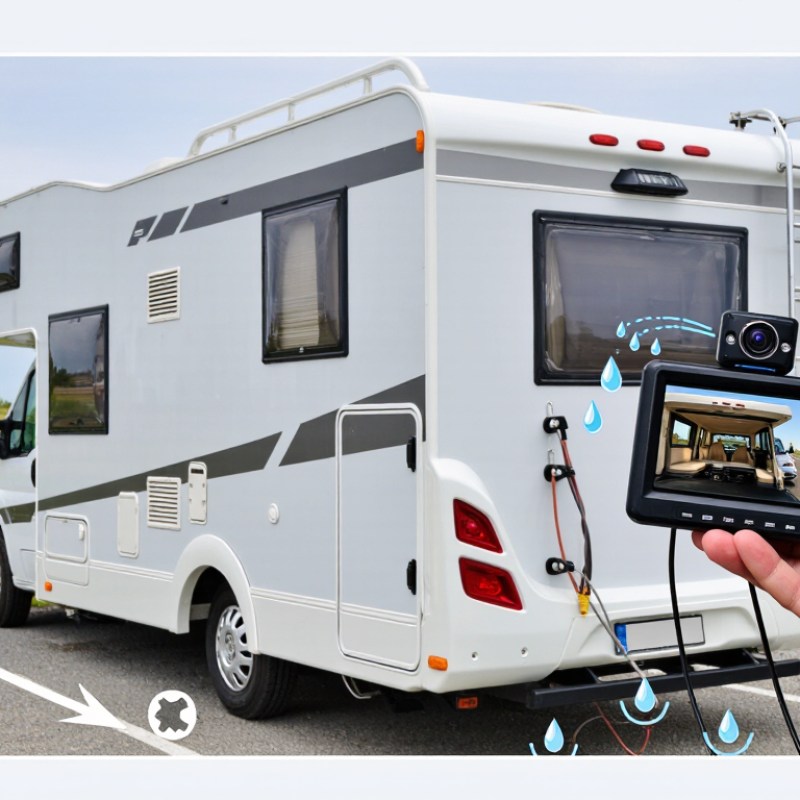
An RV rear view system typically includes a rear-mounted camera, a cab monitor, and a power connection. Some systems send video through a cable; others use a wireless transmitter. Check that the camera and monitor use compatible signals and connectors before installation. Measure the cable route, not just the RV’s length. A longer route may need extra cable, and sharp bends can damage it. For wired systems, secure the cable away from hot components and moving parts. For wireless models, test the signal with the RV parked in its usual position.
Mount the camera where it can show the area behind the vehicle and, ideally, part of the rear bumper. This makes distance easier to judge. Before drilling, inspect the interior wall for wiring or structural supports. Follow the system’s voltage and sealing instructions, then check that the image stays clear in daylight and at night. IIHS research found rearview cameras were associated with a 17% lower backing-crash rate; cameras combined with parking sensors showed a 42% reduction. These findings concern passenger vehicles, so they are useful context, not an RV-specific guarantee.
Tips: Ask someone to stand behind the RV while you adjust the viewing angle. Test the monitor with the engine running, then recheck the camera seal after the first wet drive. A neat installation can still leave a blind spot. Don’t assume the screen replaces mirrors or careful observation.
| Installation area | Requirement or system detail | Practical guidance |
|---|---|---|
| Choose a system | Wired systems send video through a cable; wireless systems transmit video by radio to a compatible display. | Wired systems require a cable route through the RV. Wireless systems still need power at the camera and monitor, and signal range can be affected by distance and obstructions. |
| Check compatibility | Camera, display, connectors, video format, and power requirements must be compatible. | Confirm the equipment specifications before installation. Do not assume that a camera will work with an existing monitor solely because the connectors appear to fit. |
| Select camera position | The camera is commonly mounted high on the rear of the RV, with a clear view behind the vehicle. | Check the view for obstructions such as ladders, roof accessories, or a spare tire. Follow the camera instructions for mounting angle and orientation. |
| Choose a mounting surface | The mounting point must support the camera and allow a secure, weather-resistant installation. | Check what is behind the panel before drilling. Avoid hidden wiring, plumbing, structural members, and other components. |
| Plan the power supply | Many RV cameras use a low-voltage DC supply, but the required voltage and operating method vary by system. | Use the specified circuit and fuse protection. If connecting to vehicle or RV wiring, verify the circuit with the equipment instructions and RV wiring information. |
| Route the cable | A wired system needs a continuous video cable between the rear camera and display. | Route the cable away from sharp edges, hot surfaces, moving parts, and sources of electrical interference. Secure it without pinching or sharply bending it. |
| Seal exterior openings | Any hole through an exterior panel can allow water intrusion if it is not properly sealed. | Use an exterior sealant suitable for the RV surface and follow its application instructions. Check the camera and cable entry for a secure seal. |
| Mount the display | The monitor should be visible to the driver without blocking the road view or essential controls. | Position and secure it according to the equipment instructions. Keep power and signal cables clear of pedals, steering components, and airbags where fitted. |
| Test the view | The image should be stable, correctly oriented, and useful in the intended lighting conditions. | Test the system before driving. Adjust the camera angle and display settings as needed, and check operation in both daylight and low light if supported. |
| Complete a safety check | A rear-view camera supplements mirrors and direct observation; it does not eliminate blind spots. | Check mirrors and surroundings before moving. Recheck cable security, mounting fasteners, and exterior seals after installation. |
Installation details vary by RV construction and camera system. Follow the equipment instructions and consult a qualified installer if the wiring or mounting requirements are unclear.