Leave Your Message

10 Tips for Choosing an RV Rear View Camera

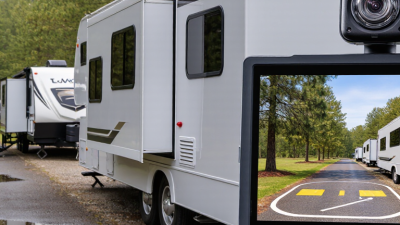
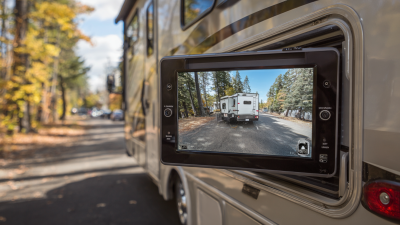
A long motorhome can hide a bicycle, a low wall, or a child from the driver’s seat. A well-chosen Rv Rear View Camera can make reversing easier, but image quality, viewing angle, and installation all matter. The camera is a tool, not a substitute for mirrors or careful observation.

The scale of recreational travel makes visibility worth considering. The RV Industry Association reported 313,174 U.S. RV shipments in 2023, in its annual shipment data. NHTSA’s rear-visibility rule, finalized in 2014, required rearview technology in new vehicles under 10,000 pounds, with compliance beginning in 2018. Many larger motorhomes fall outside that weight threshold, so buyers should check their own vehicle’s equipment rather than assume a camera is standard. Mark Polk, RV educator and founder of RV Education 101, offers a useful practical principle: “Choose equipment that makes the task clearer, not more complicated.” Treat that as a buying lens, not a substitute for a vehicle-specific assessment.

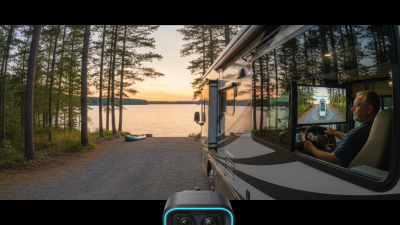
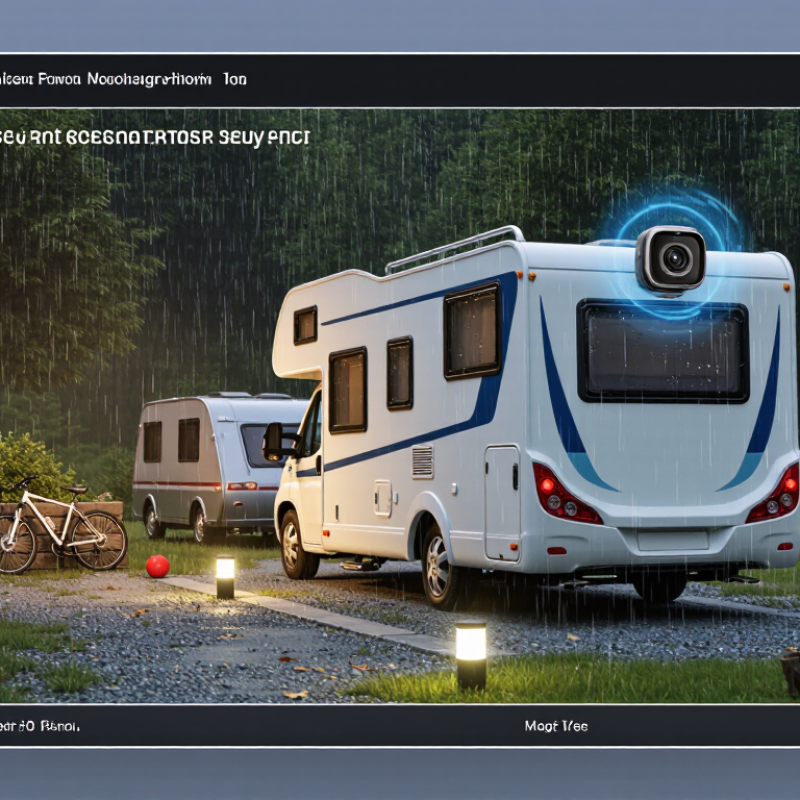
This guide examines ten details that shape a reliable choice: wired or wireless design, screen size, night vision, weather resistance, camera placement, and more. Picture a narrow campsite after sunset, with rain on the lens and a trailer close behind. Small differences become obvious. A crisp display helps. So does a stable signal. Yet specifications can be misleading, and no single model suits every RV. Compare the camera with your vehicle, driving habits, and installation needs before deciding.
10 Tips for Choosing an RV Rear View Camera

Identify Your RV’s Size, Layout, and Camera Requirements

Before choosing an RV rear view camera, measure the vehicle’s full length and note where the driver sits. A compact motorhome and a long fifth-wheel trailer create different viewing problems. Sketch the layout, including the rear wall, cab, and any existing display. Small details matter. A bike rack, spare tire, or raised ladder can block the view even when the camera is mounted high.

Think about what you need to see while reversing and while driving. A wide view may help reveal nearby obstacles, but objects can look farther away than they are. Check whether the camera angle shows the ground behind the RV, not just the horizon.

On a long rig, consider cable distance, wireless signal obstructions, and where a monitor can be seen without distracting the driver. Check the corners. If possible, compare the camera’s stated viewing angle with the actual space around your RV.

Specifications cannot fully predict a poor mounting position, and I would not assume one camera solves every blind spot. Mark a proposed location with removable tape, then check the view with a helper standing safely behind the vehicle.

That can change everything.
Compare Wired and Wireless Camera Systems

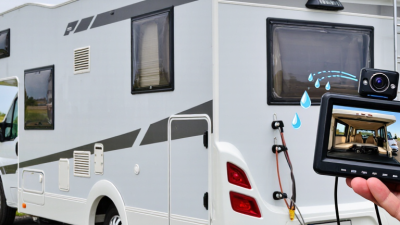
Choosing between wired and wireless RV camera systems starts with the vehicle’s layout, not the advertised range. In a long motorhome, routing cable through cabinets and insulated walls can take time. A wired connection avoids radio dropouts and does not depend on a camera battery. That matters.

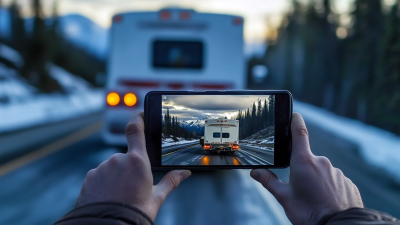
Wireless systems skip the long cable run, which can simplify installation on trailers or vehicles where drilling is undesirable. But metal bodywork, nearby electronics, and poor antenna placement may interrupt the picture. A brief freeze while reversing is not a minor annoyance. Check the stated range, then test the camera behind your actual RV; distance and obstacles can change performance.

NHTSA’s 2014 rear-visibility rule estimated that rearview camera systems could prevent 58–69 deaths annually. That estimate covered light vehicles broadly, not RVs alone (79 Fed. Reg. 19178). Treat it as safety context, not a promise for either connection type. Choose wired for a stable, permanent installation; choose wireless when cable routing is impractical. I would still test it at dusk, with a spotter.

Evaluate Image Quality, Viewing Angle, and Night Vision

10 Tips for Choosing an RV Rear View Camera: Evaluate Image Quality, Viewing Angle, and Night Vision

A camera can look sharp in a showroom and still blur a trailer hitch at dusk. Test the live image on your actual display, not just the advertised resolution. Look for clear edges on a parked bicycle, readable distance markers, and stable color in shade. NHTSA’s FMVSS No. 111 rear-visibility standard specifies a view of a 10-foot-wide area extending 20 feet behind the vehicle. Treat that as a useful reference, not proof that every camera shows every obstacle.

Tip: Check the corners. A very wide viewing angle can reveal more of the campsite, but may bend distances near the edges. Ask someone to walk behind the RV while you compare the screen with direct sight. The mismatch can be surprising.

Tip: Test night vision where you will use it. NHTSA’s 2022 Traffic Safety Facts reports that 76% of pedestrian fatalities occurred in dark conditions. Park near a dim driveway, then check whether the camera distinguishes a person from a shadow without harsh glare from headlights. Wipe the lens and repeat in light rain. I would not trust night mode alone; a small blind spot can remain.

10 Tips for Choosing an RV Rear View Camera - Evaluate Image Quality, Viewing Angle, and Night Vision

Use these practical checks to compare camera systems. Confirm that the camera, monitor, cables, and connectors are compatible, and review the specifications for the exact model being considered.

Tip What to Evaluate Practical Check Why It Matters
01 Image resolution Compare the camera’s stated resolution with the monitor’s supported resolution. If possible, view a live demonstration rather than relying on the resolution number alone. A sharper image can make details easier to distinguish, but the display and video connection also affect the picture you see.
02 Viewing angle Check whether the advertised angle is horizontal, vertical, or diagonal. Consider a moderately wide view and test how much the edges appear stretched. A wider view can show more of the area behind the RV, while very wide-angle lenses may distort distances and objects near the edges.
03 Night vision and low-light performance Look for clear low-light performance and, if infrared illumination is used, check whether it is suitable for the camera’s mounting position. Test the image in darkness if possible. Night performance varies by sensor, lens, lighting, and display. Infrared can help in darkness, but reflections from nearby surfaces may affect the image.
04 Image processing and glare Check for usable detail when bright lights or sunlight are in the scene. Ask whether the system offers features such as backlight compensation or wide dynamic range. Strong contrast can hide details in shadows or bright areas, especially when reversing at dawn, dusk, or near headlights.
05 Weather resistance Review the camera’s stated ingress-protection rating and installation instructions. An IP rating describes tested resistance to dust and water; it does not guarantee suitability for every installation. An externally mounted camera is exposed to rain, road spray, dust, and temperature changes. Proper mounting and cable sealing matter too.
06 Monitor size and placement Choose a display that can be read from the driver’s normal seated position without obstructing the road view, mirrors, or vehicle controls. A useful camera image is less helpful if the monitor is difficult to see or requires the driver to look away for too long.
07 Wired or wireless connection For a wired system, check cable routing and required cable length. For a wireless system, verify compatibility and test the signal with the RV in its normal configuration. Long vehicles and electrical interference can affect wireless links. Wired systems require installation but avoid relying on a radio link for the video signal.
08 Display modes and image orientation Confirm whether the image can be set to a normal or mirror view and whether the system supports the view you need while driving or reversing. Different camera positions and monitor layouts may require different image orientations. The view should be intuitive and consistent for the driver.
09 Mounting position and adjustment Check that the bracket allows the lens to be aimed at the desired area and that the location will not be blocked by a ladder, cargo, or other equipment. Correct positioning determines what appears in the image. A camera view cannot replace mirrors or direct observation when maneuvering.
10 Compatibility and installation support Verify the power requirements, connector type, video format, monitor input, cable length, and any included mounting hardware before purchase. Camera and monitor systems are not universally interchangeable. Checking the complete setup can prevent avoidable installation problems.

Check Weather Resistance, Monitor Compatibility, and Installation

An RV rear view camera faces rain, road spray, dust, and sharp temperature changes. Check its stated weather-resistance rating, and look for sealed connectors and a weatherproof cable entry. A strong rating matters most when the camera sits near the bumper, where spray collects. Water finds gaps. Inspect the wiring, too; a well-sealed camera can still fail at an exposed connection. No rating removes the need for careful installation.

Before buying, confirm that the camera’s video signal and connector match your monitor. Check supported resolution, screen format, and whether the display accepts one or more camera inputs. Some systems also use a trigger wire to switch views when reverse is selected. Read both manuals, not just the product listing. A connector that fits may still carry an incompatible signal. That detail is easy to miss.

Choose a mounting spot with a clear view behind the RV, then check it from the driver’s seat. Keep the camera centered if possible, and avoid placing it where a door, rack, or overhang blocks the image. Route cables away from hot parts and moving components, following the vehicle and equipment instructions. Test the picture before securing trim or sealing holes. Test it twice. I would also check the view with the RV loaded; cargo can change what the camera sees, and the first placement is not always ideal.

Match Camera Features to Your Budget and Travel Needs

An RV rear view camera is most useful when its features match your routes and budget. For occasional campground trips, a clear daytime image and a reliable display may be enough. Frequent night driving makes low-light performance more important. Check the stated viewing angle, too: a wider view can reveal nearby obstacles, but objects may look smaller or farther away. That takes practice.

Compare the full setup cost, not just the camera price. A wired system may require more installation work, while a wireless one can be easier to fit but may have signal limits. Long vehicles and metal walls can affect reception. Test the connection before a trip, ideally with the camera mounted where you plan to use it. Check whether the display fits your dashboard and whether the image stays readable in bright sun. Test it at home.

Think about your actual parking routine. A camera with parking guidelines can help when backing toward a fence or campsite post, but those lines may not match your RV’s dimensions. Measure and adjust carefully. Confirm weather resistance and compatibility with your vehicle before buying. No camera removes blind spots, so mirrors and a spotter still matter. It is easy to overspend on extra features; a dependable picture you can interpret quickly may serve you better.