Leave Your Message
Choosing a Backup Camera For Car is not just about finding the largest screen or the lowest price. The right system should show a clear, steady view of the space behind your vehicle, especially when you reverse into a narrow driveway or park between two cars. Look at screen size, image quality in low light, camera angle, weather resistance, and how the system connects to your vehicle. A wide view can help, but excessive distortion may make nearby objects harder to judge.
Automotive safety specialist Alex Morgan offers a practical reminder: “A backup camera should support your eyes, not replace them.” Treat that as a guiding principle, rather than a substitute for checking the area around the vehicle. Before choosing a model, consider where the screen will sit, whether the camera can be mounted securely, and if installation requires professional help. A display that is difficult to see in bright daylight may be frustrating, even if its specifications look impressive.
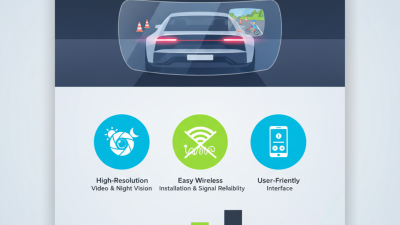
Test the view in real conditions. Check how clearly the camera shows a curb, a child-sized obstacle, or the edge of a garage after dusk. Compare wired and wireless systems, but do not assume wireless always means easier installation. Some connections can lag or lose signal. One detail is easy to overlook: the camera lens needs occasional cleaning. Even a thin film of road dust can blur the image. No single feature guarantees a perfect choice. Focus on dependable visibility, a practical installation, and controls you can use without distraction.
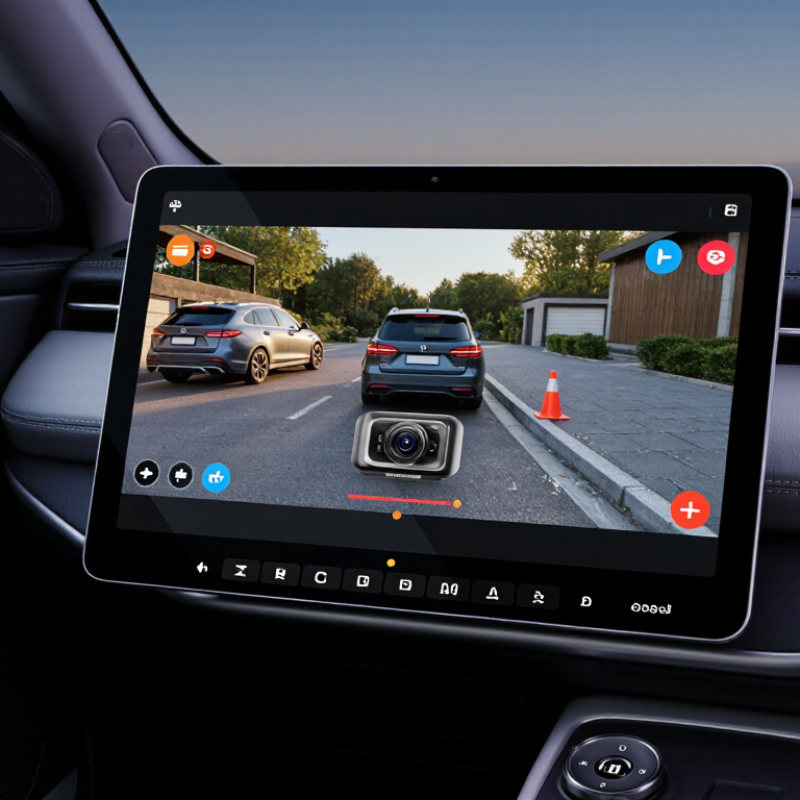
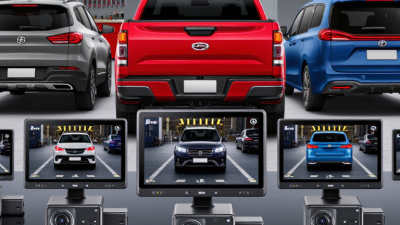
Before choosing a backup camera, identify your vehicle’s body style and rear layout. A sedan, pickup, and hatchback place the camera at different heights and angles. Check whether the license-plate area offers a clear mounting point, or whether a tailgate handle or rear trim panel is more suitable. Measure the available space; a camera that fits one plate surround may block a hatch release on another vehicle.
Measure twice. Also check your vehicle’s electrical system and existing display. Some cameras connect to a separate monitor, while others need a compatible in-dash screen. Read the vehicle manual before planning a wiring route, especially around airbags, moving tailgates, and trim panels. A cable pinched inside a hatch can fail after repeated opening and closing. Small details matter. Think about where the screen will sit, whether the image remains visible in daylight, and how much of the bumper should appear at the bottom of the picture. I’d be tempted to choose the smallest camera, but a cramped mounting spot can produce a poor view. If the installation requires unfamiliar wiring or panel removal, ask a qualified installer to check the plan. A little uncertainty here is worth addressing before buying.
| Vehicle or Setup | Likely Mounting Location | What to Check Before Choosing | Power and Wiring Considerations | Display and Compatibility |
|---|---|---|---|---|
| Sedan or hatchback | Near the rear license plate or in an available factory mounting position. | Check the plate area, trunk or hatch opening, camera viewing angle, and whether the plate frame or trim blocks the view. | A wired camera typically needs a cable routed from the rear to the display. A common option is to connect it to a reverse-light circuit so it activates when reverse is selected; confirm the vehicle wiring and camera instructions first. | Confirm that the display accepts the camera’s video signal and that the vehicle’s screen can show an added camera input. |
| SUV or crossover | Above or near the rear plate, on the hatch, or in a suitable factory opening. | Check whether the hatch handle, rear wiper, spare tire, or other accessories obstruct the camera’s view. Make sure the mounting position remains clear when the hatch is closed. | Allow for cable routing through the hatch and into the vehicle body. Protect wiring from moving hinges and pinch points. | Check screen input and whether the camera image can be displayed automatically in reverse. A longer vehicle may require more cable than a small car. |
| Pickup truck | At the rear plate, tailgate, or a suitable location above the tailgate. | Decide whether the camera should show the area immediately behind the truck, the hitch, or both. A tailgate-mounted camera may be blocked or removed when the tailgate is lowered. | Measure the cable route from the camera to the cab, including the path around the bed and any moving tailgate sections. Keep wiring away from sharp edges and hot or moving parts. | If towing, check whether the display supports a second camera input or a compatible switching method for a separate trailer camera. |
| Van or vehicle with rear doors | On a rear door, near the plate, or higher on the rear body when a low mounting position is obstructed. | Check door swing, door handles, hinges, and any load that could block a low camera. A high mounting position can provide a wider view but may make nearby obstacles harder to judge. | Plan a protected cable path around door hinges and through any suitable existing wiring passage. Avoid routing cable where the doors can crush or pull it. | Check the display’s input type and whether it can show the camera while reversing. Confirm the camera is suitable for exterior exposure. |
| Vehicle with a factory camera or integrated screen | Use the existing camera position if replacing the camera, or an approved additional mounting point if adding another view. | Identify the existing connector, camera signal format, operating voltage, and any vehicle-specific interface requirements before buying a replacement. | Factory systems may use a dedicated connector or signal that is not directly compatible with a universal camera. Check the vehicle documentation or have the connections verified. | Confirm compatibility with the original screen; a physical connector match alone does not guarantee that the camera signal or voltage is compatible. |
| Wireless camera installation | Usually mounted at the rear plate, tailgate, or rear body, depending on the camera design. | Check the distance and obstructions between the rear camera and the receiver. Metal bodywork and other sources of interference can affect wireless video reliability. | “Wireless” usually refers to video transmission; the camera and display or transmitter may still need power wiring. Verify the power requirements and activation method for both units. | Confirm that the receiver works with the supplied display or the vehicle’s screen input. Do not assume a wireless camera connects directly to a factory screen. |
| Trailer or frequent towing setup | On the towing vehicle for hitch alignment, or on the trailer for a rearward view. | Choose the view needed: hitch area, trailer sides, or the area behind the trailer. Check whether the trailer connection and camera position remain usable when the trailer is attached. | For a trailer-mounted camera, plan how it will receive power and transmit video. A wired connection may require a compatible trailer connector and sufficient cable length. | Check whether the monitor supports multiple camera inputs or a suitable switching method. Confirm that the camera can be selected while driving only where permitted and safe. |
Before purchasing: Record your vehicle year, body style, existing screen or head unit, available mounting space, and the approximate cable route. Follow the vehicle and camera installation instructions, and verify wiring with a qualified installer if you are unsure.